
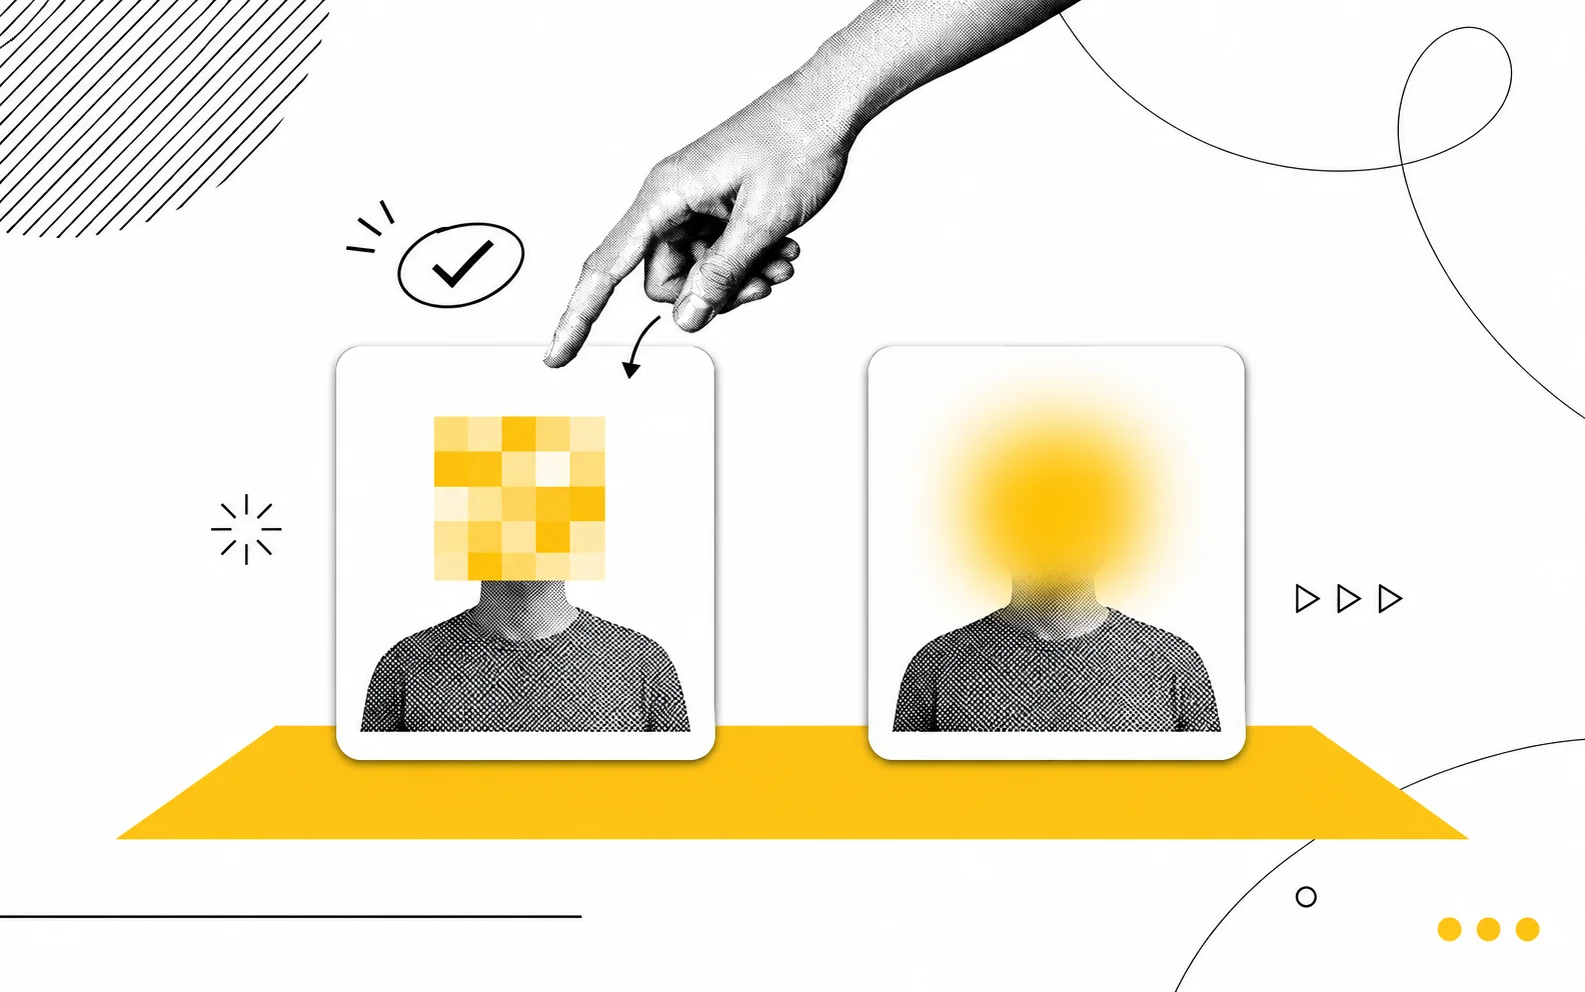
When talking about concealing faces in videos, people often use the word “mosaic.” In practice, there are two main methods: pixelation, which breaks the image into small squares, and blur, which softly diffuses the image.
Both serve the same purpose of concealing faces, but they create noticeably different impressions in a video. Here’s a guide to how the two effects differ and which one to use in different situations.

1. How does pixelation conceal a face?
Pixelation divides the face into small square cells, like a checkerboard, and fills each cell with a single color based on the average of the colors within it. Since details such as the eyes, nose, and mouth are merged into a single color, the distinctive features of the face disappear.
That familiar square mosaic often seen on TV news and current affairs programs uses this method. Its defining characteristic is that it clearly shows, at a glance, that the face has been intentionally concealed.
2. How does blur conceal a face?
Blur blends the color at each point with the colors around it, creating a soft, diffused image. Like an out-of-focus photograph, the edges become indistinct and the details of the face can no longer be seen.
Because it does not create square cells, blur keeps the image clean and blends naturally with the surrounding background.
3. Which effect suits which type of video?
Rather than one effect being universally correct, choose based on the mood and purpose of the video. The following guidelines can make the choice easier.
- When pixelation works well: When you need to make it clear that a person has been intentionally concealed, such as in user-submitted footage, recordings of incidents or accidents, or official videos from organizations
- When blur works well: When you want to conceal people in the background naturally without disrupting the mood of the video, such as in vlogs, travel videos, or brand promotional videos
For example, if you are concealing the faces of customers in the background of a café vlog, blur will blend well with the mood of the video. If you are uploading dashcam footage to an online community, pixelation will communicate the concealment more clearly.

4. What intensity is appropriate?
Once you have chosen an effect, the next consideration is its intensity. If the intensity is too low, the face may still be recognizable to people who know the person, because they can make out the outline, hairstyle, or the arrangement of the facial features.
- Increase the intensity when the face appears larger in the frame. Even at the same intensity, a face that fills more of the screen retains more recognizable features.
- When applied lightly, blur may look like a face that is simply slightly out of focus. If you use blur, it is best to increase it enough that the facial features cannot be distinguished.
- Check the intensity at the size at which the video will actually be viewed, rather than only in the editing window. An effect that looks sufficient on a large monitor may still appear surprisingly clear on a phone screen.
5. Keep the effect consistent throughout a video
If you use pixelation in some scenes and blur in others, the video may feel distracting to viewers. Unless there is a specific reason to do otherwise, using the same effect at a similar intensity throughout a video creates a cleaner result.
If you regularly upload videos to a channel or company account, setting a standard such as “Our channel uses blur at this intensity” makes it easier to maintain a consistent tone across videos.
Choosing an effect in VideoMasker
In VideoMasker, AI finds faces and applies masks to them. At the final stage, you can choose the effect type and intensity. Pixelation is available for free, while the blur effect is available on the Pro plan. Before saving, check the result in the preview and find the intensity that best suits your video.